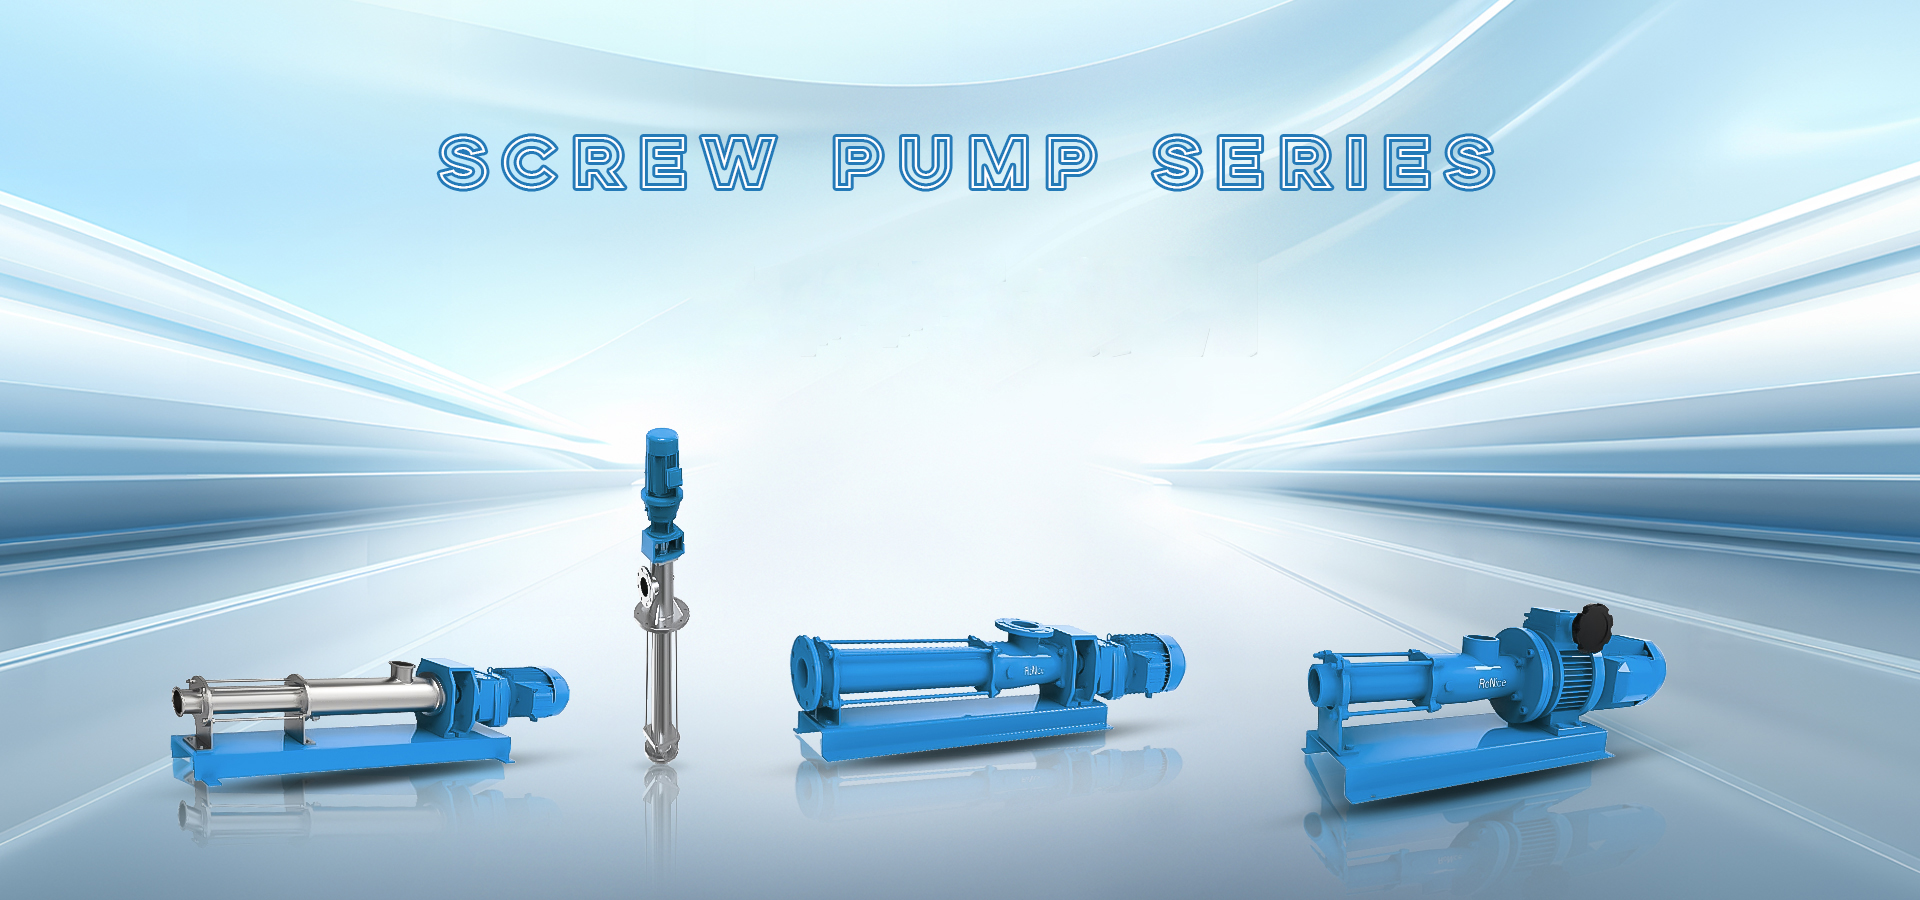
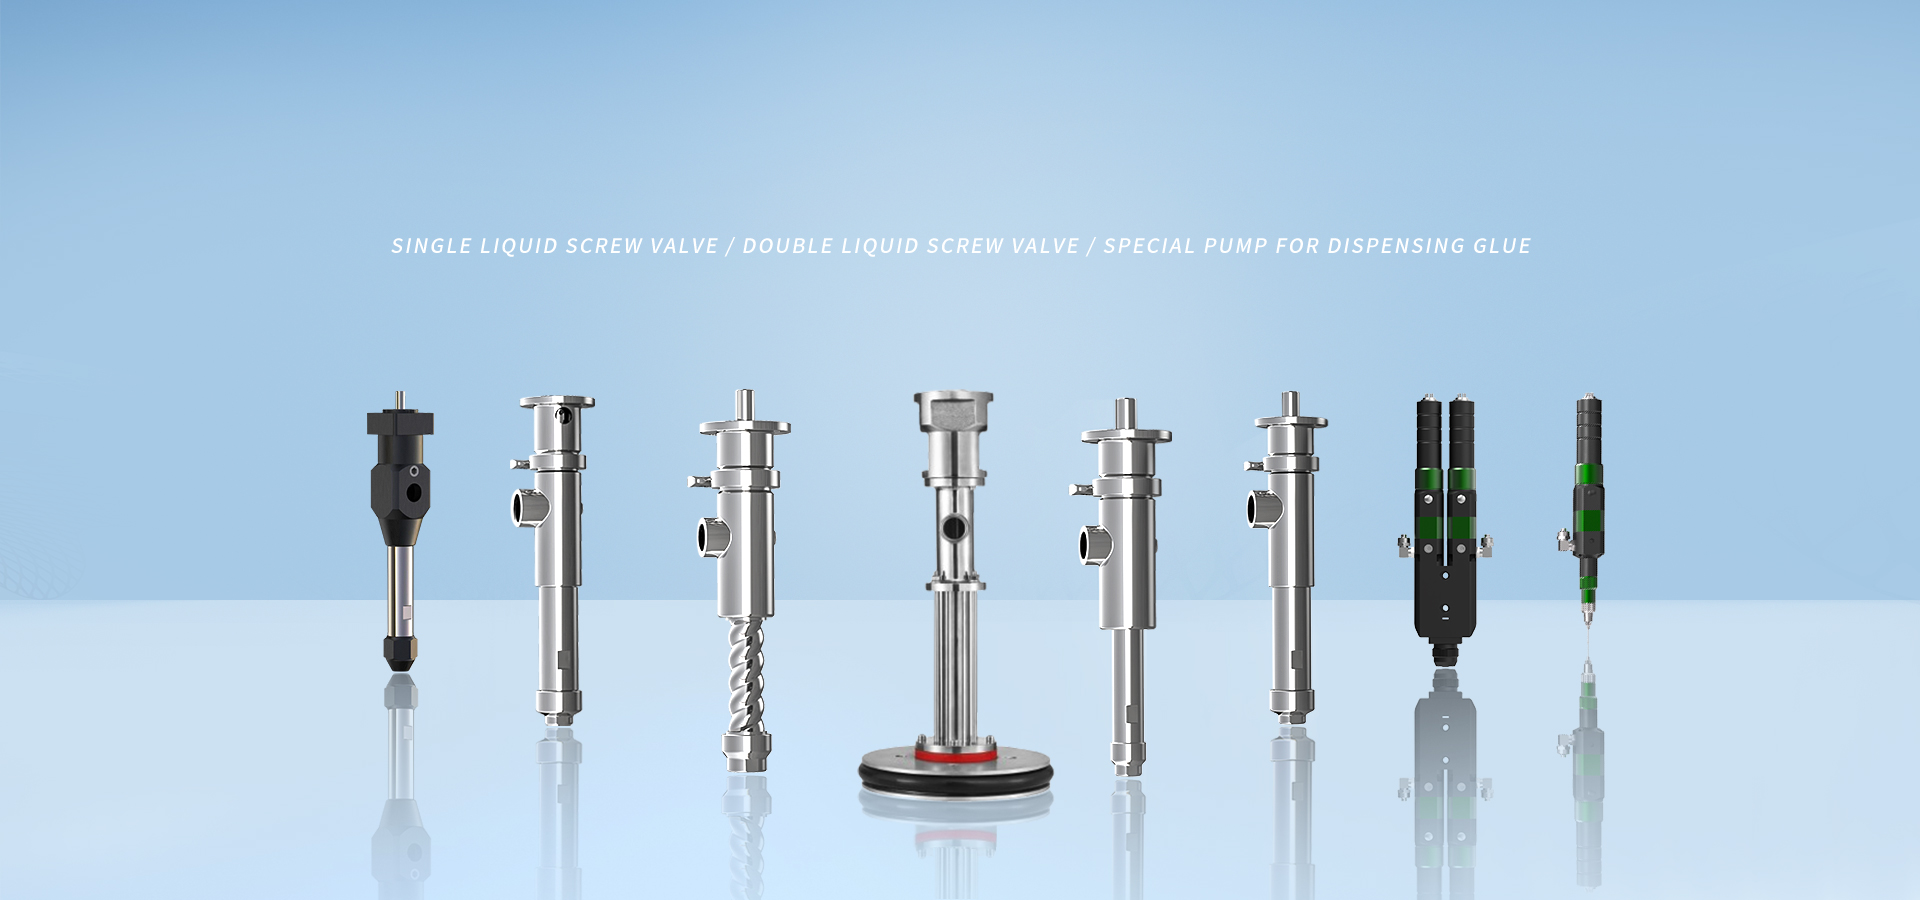
About screw pump maintenance disassembly
The maintenance and disassembly steps of the screw pump usually include the following links:
Preparations: Ensure that the device is stopped and power off. Prepare necessary tools and materials, such as wrenches, screwdrivers, and detergents.
Remove housing and pump head: Use a wrench or screwdriver to remove the housing screws, then remove the housing. Before removing the pump head, loosen the pull rod and remove the screws.
Remove the screw (rotor) and the stator: loosen the connection screw on the screw, and then pull out the screw (rotor). When the stator is removed, if it needs to be rotated counterclockwise, and the motor connection shaft will rotate accordingly, it should be fixed by pipe pliers and then rotated.
Cleaning and inspection: thoroughly clean the screw (rotor), stator and other parts to ensure that the surface is clean and free of impurities. Check the parts for signs of wear or damage and replace them if necessary.
Reassembly: Assemble in the reverse order of disassembly, ensuring that each component is installed in place and the screws are properly tightened.
Test and adjustment: After the assembly is completed, start the power supply for test run to verify whether the pump is running normally.
Please note that different screw pump models may have unique construction and disassembly processes. Therefore, before maintenance disassembly, it is recommended to refer to the special maintenance manual of this type of screw pump or consult professional maintenance personnel to obtain accurate guidance.
In addition, the maintenance of the screw pump is equally important. In addition to regular disassembly and cleaning, you should also regularly check and replace wearing parts, such as seals and bearings, to ensure the long-term stable operation of the pump.
Key words: screw pump maintenance, screw pump disassembly and cleaning


